Camille and I did another room makeover! This time it was a nursery. Our neighbor has 3 boys and was pregnant with her 4th and was finally getting a girl! She decided she wanted hot pink and grey.

BEFORE--boy toddler room

AFTER--hot pink and grey nursery! We wanted it to look sophisticated. Camille did a great job hanging the curtains. We were determined to do all the "man work" ourselves this time. Tip--get a really light weight mini drill, so much easier for the ladies!

Chair and footstool--BEFORE--faded light pink mauve velvet chair that we rescued from the thrift store for $5.
It was headed for the dumpster and we talked the sales guy into letting us buy it---well he told us we couldn't buy it AND we couldn't take it…and since I usually don't take "no" for an answer very well, I asked if I could talk to someone else. Next guy came out after we overheard the first guy say, "they won't leave!" He was happy to sell it to us for what we wanted to pay…$5.
We were laughing about this story and telling my husband about it, and he jokingly said--"that's why we're married…you won't take "no" for an answer". Let's just say he was more nervous than I was about getting married. haha!
After we got the chair home, we realized it looked pretty sad, faded, and tired. I started thinking, maybe we can dye it! I googled it and found someone that had done it. So we gave it a try!

AFTER!! Rit dye worked FABULOUS!! The footstool, I picked up at a free yardsale. I cut the pillow top thing off and slipcovered it in some of my leftover grey polka dot fabric.

3 cups hot water and 4 capfuls RIT dye, put in spray bottle and saturate the chair and let it dry in the sun. Wear gloves and do it outside!
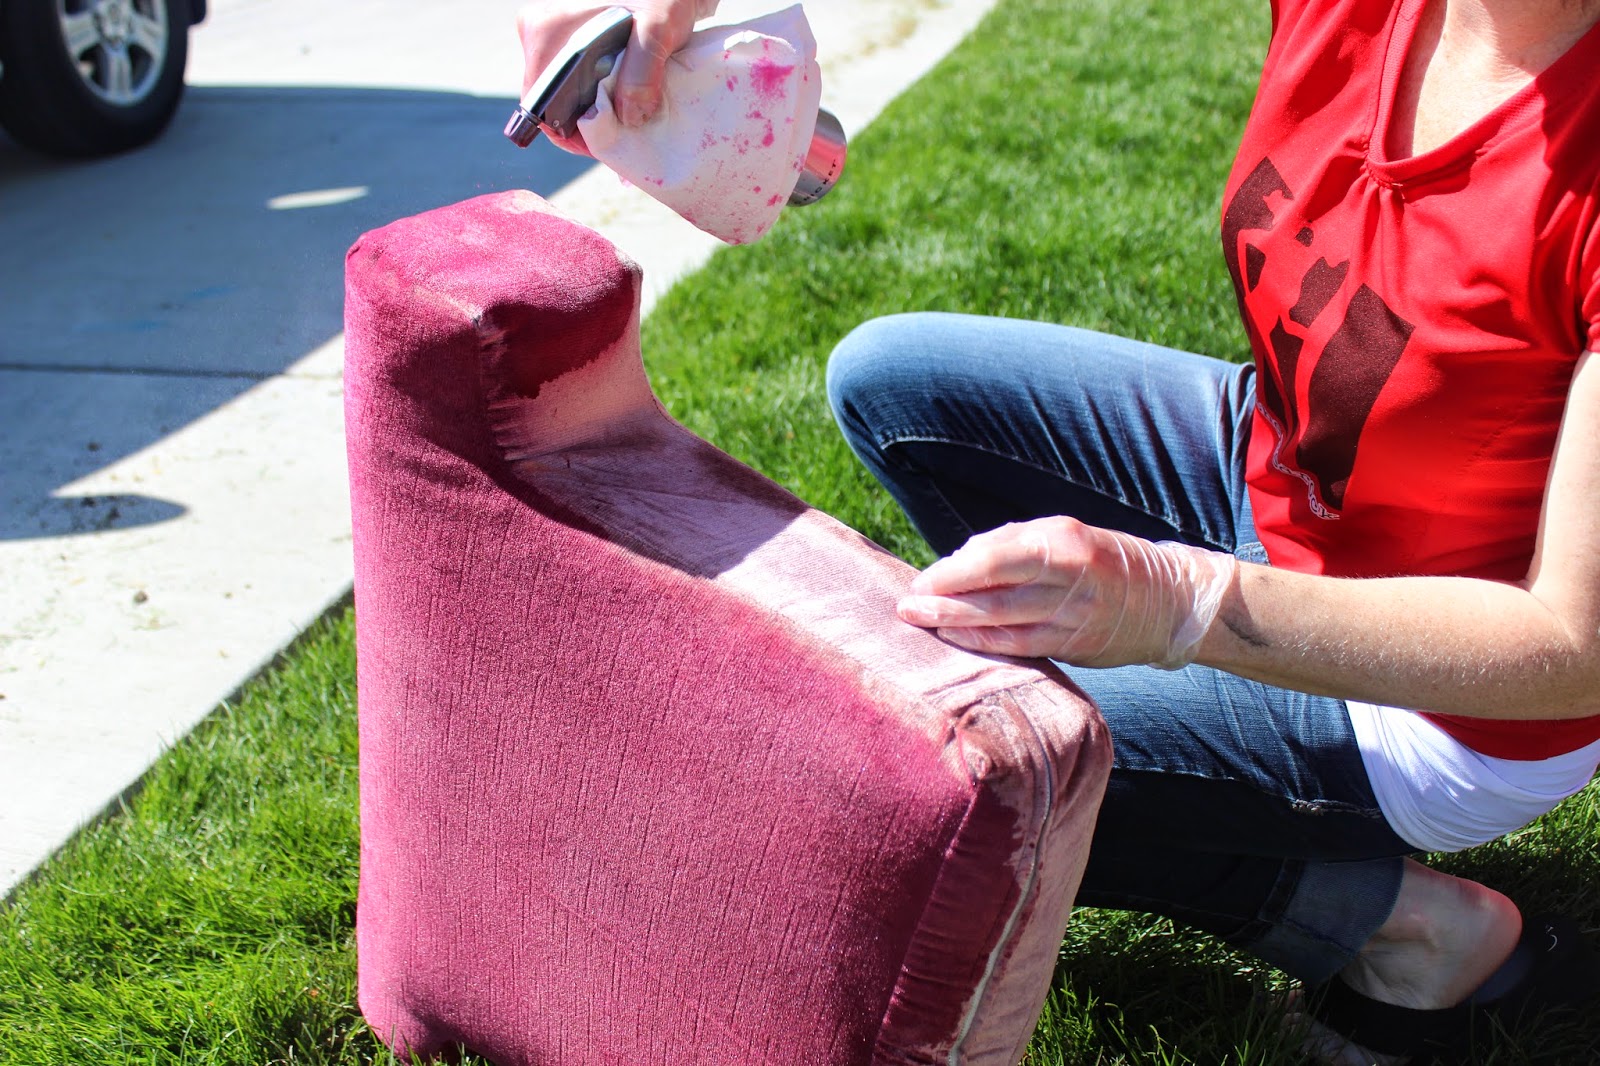
The chair took the dye really well and once it was dry, it didn't transfer onto clothing.


Nicoles budget was $200. Which was tight considering she had no furniture. The glider, changing station, and crib was staying in her youngest sons room.
Here's the breakdown
$40 dresser
$40 crib
$10 dye and spray paint
$15 curtains
$17 ikea curtain rod
$4 lamp
$2 foam
$30 hobby lobby accessories
$40 Thrift store (chandelier, clock, frames, linens, etc.)
$198 total!
It's amazing what you can do when you get creative, try to use what you have and shop second hand. Camille and I are working hard on our "Styling Cents"--reuse, repurpose, and revive your space decorating guide! Hoping to have it available in the next few months.


1 comment:
Sure turned out cute! Good work! I love finding things cheap and fixing them up to look fancy and fun. :)
Post a Comment